 A loaf of freshly baked homemade bread is this glorious thing our dreams are made of. In reality, cooking dinner during a busy workweek is hard enough. Why add baking bread? Who has a minute to spare? Well, one minute might not be enough but if you have a few minutes, spread out over a couple of days, you will be able to effortlessly pull loaf after loaf of homemade bread out of your own oven. And, if you so wish, it can be good whole grain bread—thanks to the wonderful Zoë Francois and her co-author Jeff Hertzberg. Both recently published The New Healthy Bread in Five Minutes a Day, a fully revised and updated version of their best-selling original.
I have baked whole-grain bread all my life—with yeast and sourdough, and using many different flours from the day I owned my first tabletop grain mill in Germany. I pride myself in being a home cook and home baker, and I chose this book for a rare blog post because I love Zoë’s and Jeff’s down-to-earth approach to bread baking, given our time-strapped lives.
 I’ve long been a huge fan of Zoë and her stunning blog @ZoeBakes. She has been a Facebook friend in my culinary community for years. A supremely gifted pastry chef and baker, Zoë can churn out gorgeous towering cakes and sweet treats with fancy swirls and burnt edges, and in all colors of the rainbow. And if you don’t follow her already on Instagram you will find her photography to be dazzling too.
Zoë and Jeff’s master recipe is a simple no-knead bread. But they have taken the concept to a new level by preparing a large amount of dough ahead, and storing it in the fridge for days. Want bread? Remove a grapefruit-size piece of dough, shape, and bake—whenever it suits you. Together, they have sold more than 700 000 copies of their books, all built around this basic idea. You can read more about their first meeting and story here.
So if you’ve been mystified by the whole concept of bread baking, theirs is among the easiest methods you can find to bring you the revered daily bread and fast. Using their well-honed technique, the authors provide recipes for every baked good you can possibly dream of using whole wheat, spelt, barley, and rye, even lentils. Once you understand the master recipe, you can try endless others creations: Garlic-Studded Baguette, Georgian Cheesy-Egg Boats, Red Beet Buns, Apple-Barley Bread, plus Whole-grain Pizza, flatbreads and snack crackers, and enriched breads from challah to brioche. If you are a sourdough fiend, that too is covered as are a gazillion of questions you might encounter.
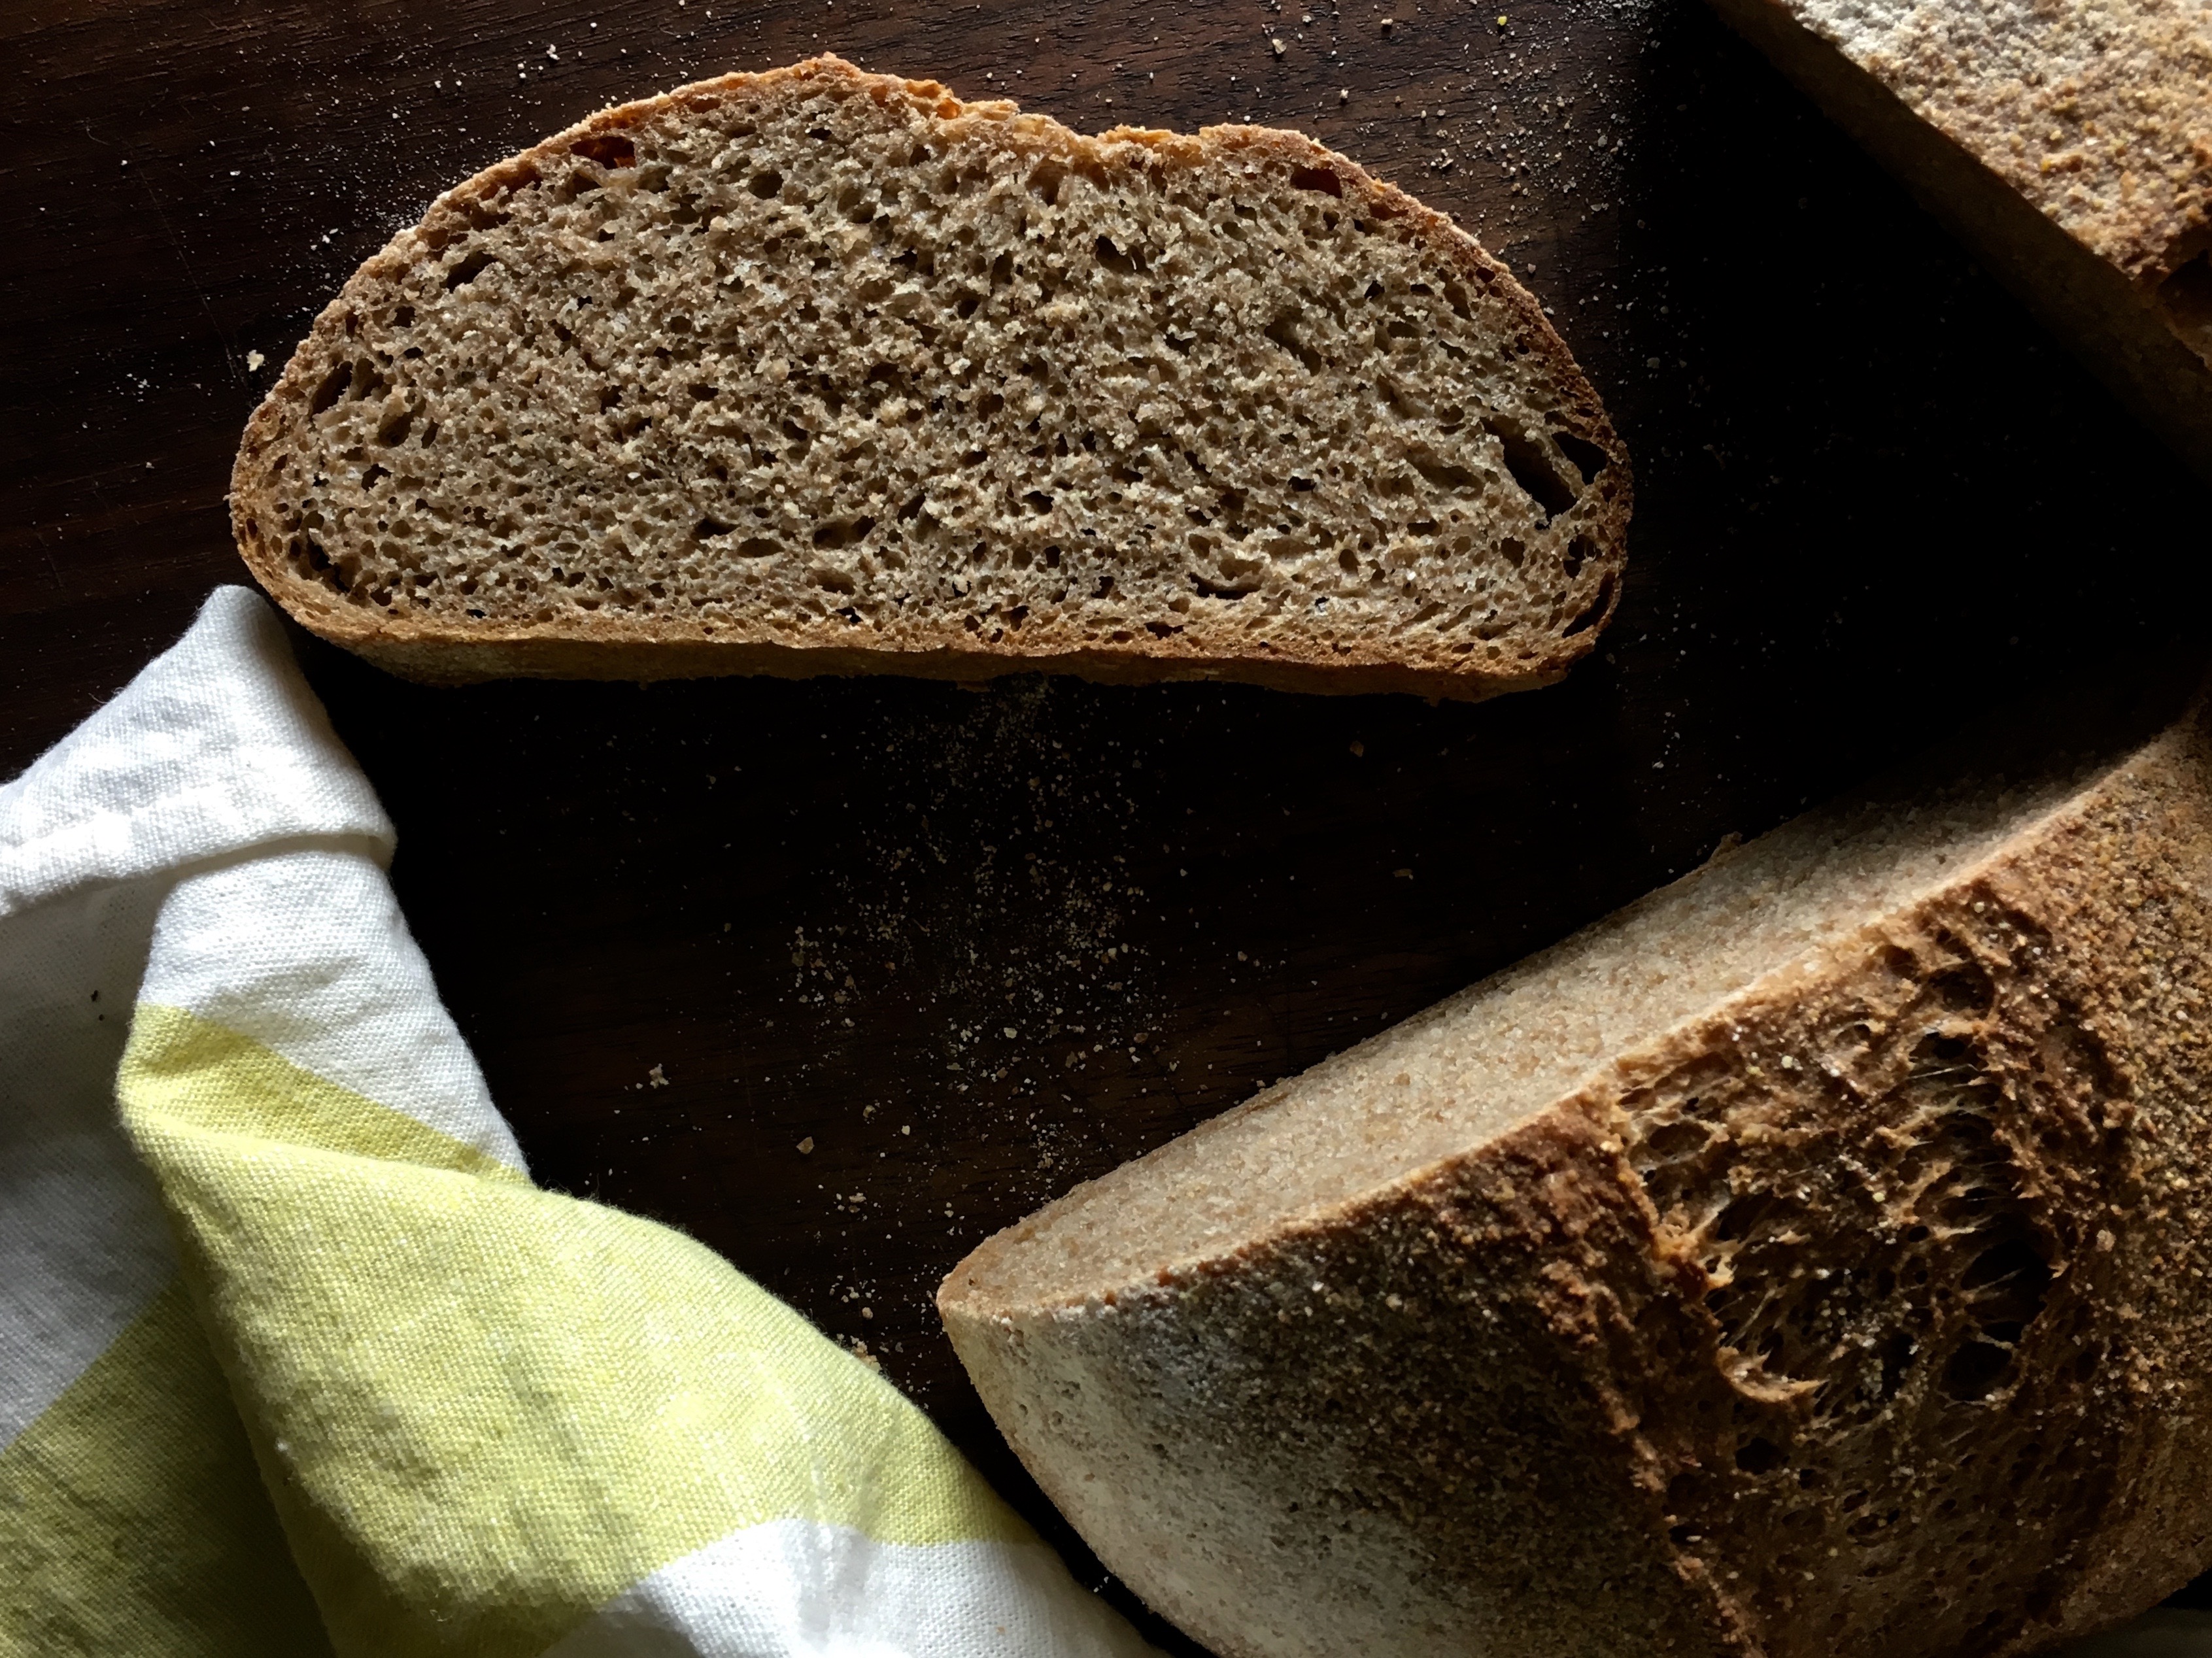
So try your hands on a rustic and wonderfully crusty home-made loaf in the recipe below. Here I have opted to not use vital wheat gluten because I’m a purist; this gives you a slightly denser loaf (but don’t worry, the book had me covered providing the necessary adjustments). I’ve also reduced the amount of yeast by half which increases the wait time a bit but rewards with complexity of flavor: Your house will soon smell like a country bakery in the days of yore!
RECIPE: 100% Whole Wheat Artisan Free-Form Loaf
Adapted from The New Healthy Bread in Five Minutes a Day by Jeff Hertzberg, M.D., and Zoë François
I  halved the original recipe which will give you two small loaves of about 1 pound each. You can easily double or quadruple this recipe for larger households or to make bigger loaves (in which case you have to adjust the baking time, of course). I also added a bit of olive oil as suggested for a more tender loaf with a lovely crust. You can also add 2 tablespoons honey for a sweeter loaf.
500 g (about 4 cups) whole wheat flour (I used organic King Arthur Flour), plus extra for the work surface and dusting
3 g (3/4 teaspoon) granulated yeast (I used instant (*))
7 g (11/2 teaspoons) kosher salt (I used fine sea salt)
25 g (2 tablespoons) extra-virgin olive oil
375 g (1 1/2 cups plus 1 tablespoon) lukewarm water
STEP 1
- Mixing and storing the dough: Whisk together the flour, yeast, and salt in a 5-quart bowl, or a lidded (not airtight) food container. Add the olive oil to a 2-cup-measuring cup, followed by the water. Beat together with a fork.
- Add the liquid ingredients and mix without kneading, using a spoon, dough whisk or a heavy-duty stand mixer (with paddle). You might need to use wet hands to get the last bit of flour to incorporate if you’re not using a machine.
- Cover (not airtight), and allow the dough to rest at room temperature until it rises and flattens on top. Because I use half the amount of yeast, this can take 4 to 5 hours.
- The dough can be used immediately after the initial rise, though it is easier to handle when cold. Refrigerate in a lidded (not airtight) container and use it over the next 3 to 4 days for best results.
STEP 2
- On
 baking day, dust the surface of the refrigerated dough with flour and cut off a 1-pound (grapefruit-size) piece. Dough will be stringy, full of bubbles. Dust the piece with more flour and quickly shape it into a ball by stretching the surface of the dough around to the bottom. Zoe just published a video on shaping loaves.
 - Elongate the ball into a narrow oval. Allow the loaf to rest, loosely covered with plastic wrap, on a pizza peel prepared with cornmeal or lined with parchment paper for 90 minutes (40 minutes if you’re using fresh, unrefrigerated dough).
- After about 45 minutes, preheat the oven to 450°F, with a baking stone on the middle rack. Place an empty metal broiler tray on any other rack that won’t interfere with the rising bread. I placed mine on a rack below.
- Dust the top with flour. Slash the loaf with 1⁄4-inch-deep parallel cuts, using a serrated bread knife or a lame.
- Slide the loaf directly onto the hot stone. Carefully pour 1 cup of hot water into the broiler tray (it will steam!), and quickly close the oven door. Bake for about 30 minutes, until richly browned and firm, or until the internal temperature reaches 190°F. (If using parchment paper, bake for 15 minutes. Using oven mitts, carefully remove the parchment paper, and return the bread to the stone for 15 more minutes).
- Allow the bread to cool on a rack before slicing and eating.
Fine Points
* I buy instant yeast in bulk and keep it in the freezer. I’ve had it there for years (shame on me, and in a container that is not (!)dated), and it still works like a beauty.


